BikeTech Page 6
The ULTIMATE 650GS screen has
arrived!!!
|
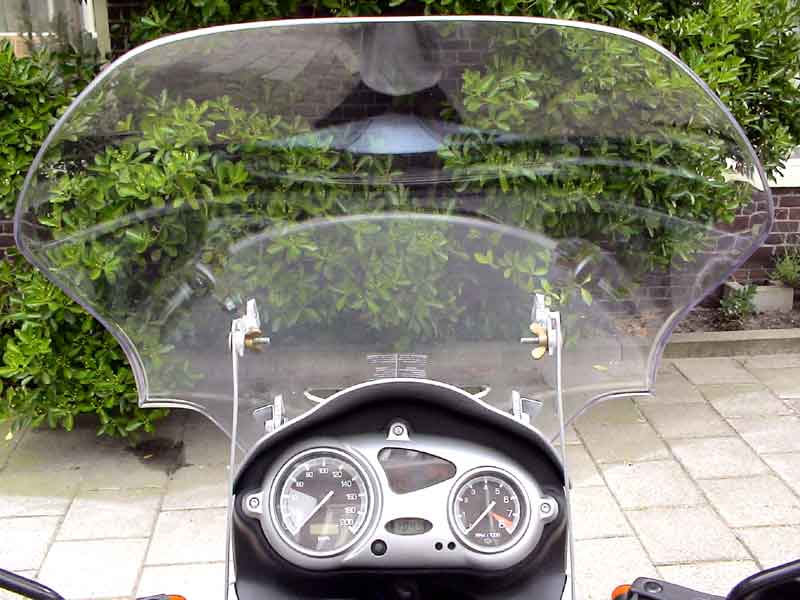
Although quite satisfied with my modified GS tall screen (see my earlier biketech pages and my page on the Chain Gang site, also referred to as "Pazzo's adjustable screen" , some part of my mind continued to search for a solution that would allow me to drive well over 80 mph without visor or earplugs, and allow me to raise or lower the screen as required depending on on/off-road conditions. The solution should also be cosmetically acceptable and affordable. After my implementation, early summer 2002, of the modified screen I therefore kept checking out aftermarket screens as well as the original screens of basically any bike that crossed my path. Now, almost two years later, I can confirm that the Ultimate 650GS screen solution exists! The ultimate screen is even a better fit than I thought: The answer to all problems is solved by the purchase of the tall screen of big BMW brother K1200GT. |
|
|
|
|
Price and size Design Comparison with other screens |
 |
 |
|
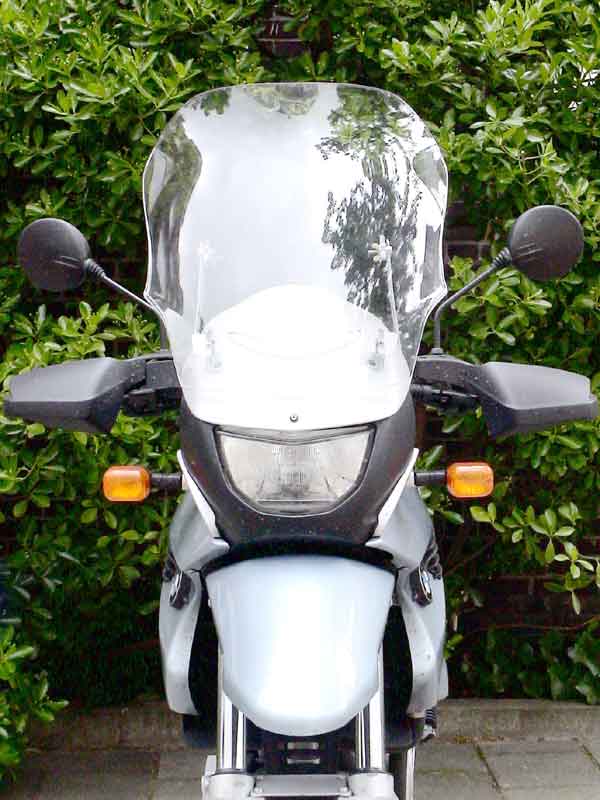
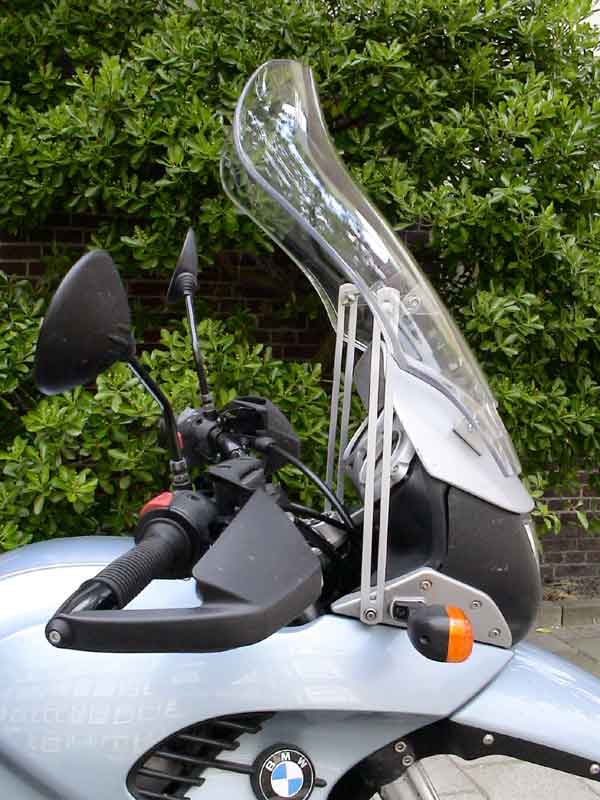
On the K1200GT, the screen is connected via four cast mounting handles to levers that allow the screen to be either manually (K1200GT 2001/2002) or electrically (2003/2004) lowered and raised about 4" to make touring more comfortable. These four handles form part of the polycarbonate cast and offer a perfect match for the connection to the 650GS (series up to 2003). The two lower handles are just far enough apart to allow them to be attached to the upper screws of the standard 650GS deflector via two "Z" shaped thin steel mounting plates, while the two higher handles almost perfectly fit the metal bars that I've already used for my earlier tall screen modification. Material costs for the construction should be under $20. I started with a prototype that took an hour or two to build. After driving several hundred miles with the prototype I created the final version that is described below. With the drawings below you should be able to build this solution in a few hours (excluding paint work). Driving test and Conclusion
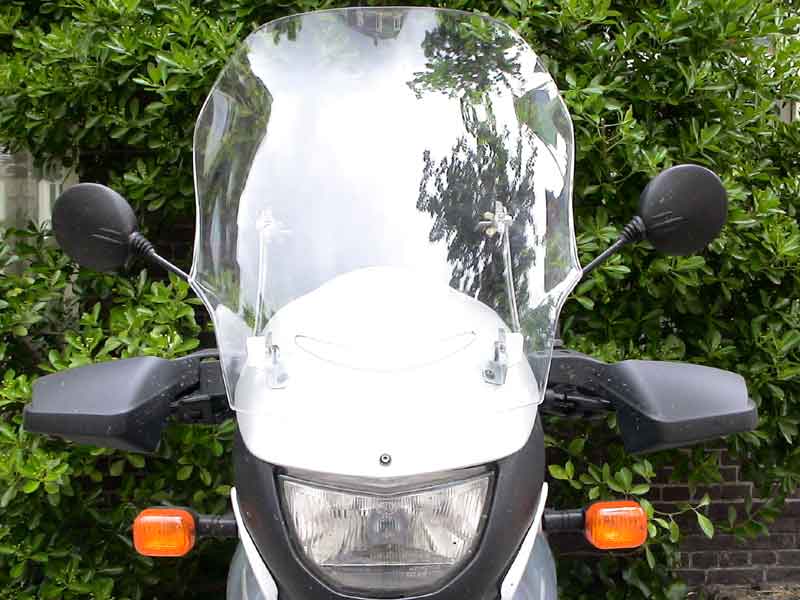
Needless to say this has significantly increased my pleasure of riding the 650GS, allowing me to hop on without bothering about ear protection and having comfortable long drives even in light rain, as nearly all wind and rain is deflected by the screen. One remark, based on experience: The curved top deflector was created to deflect wind only. Mosquitos at 100 mph will not be much deflected, so eyeglasses are advised when you plan to drive with an open visor at these higher speeds. Good luck and many enjoyable
driving hours at 100+mph! 2004©AntarticaGalleries |
| Construction Start with the screen: It is the tall version of the screen for the K1200GT. BMW part number: 46-63-7-663-115 (in US $ 91.50) All other parts are depicted below. The nuts and bolts depicted below are self explanatory. You can reuse the screws from the standard 650 silver deflector. For the other screws you can use allen or other types, as long as they are stainless steel. The wing nuts and nylon washers should be supplied with the window brackets. |
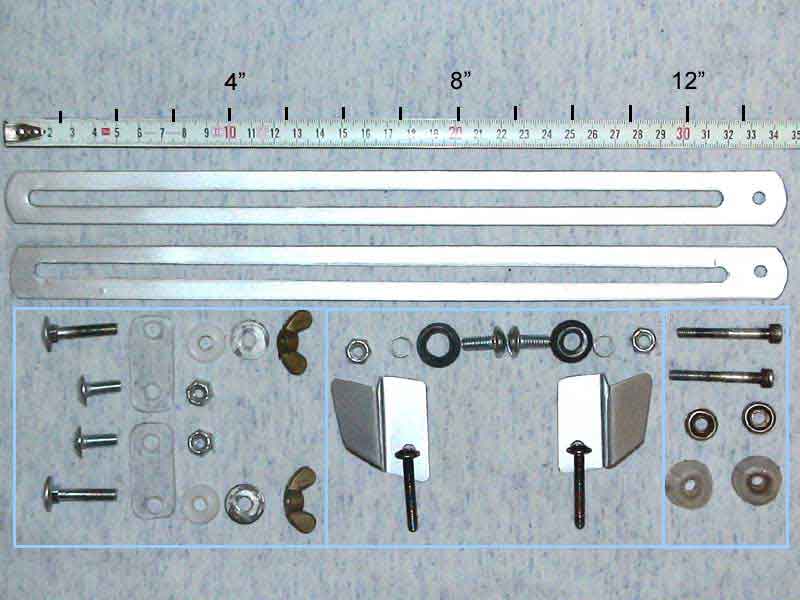 |
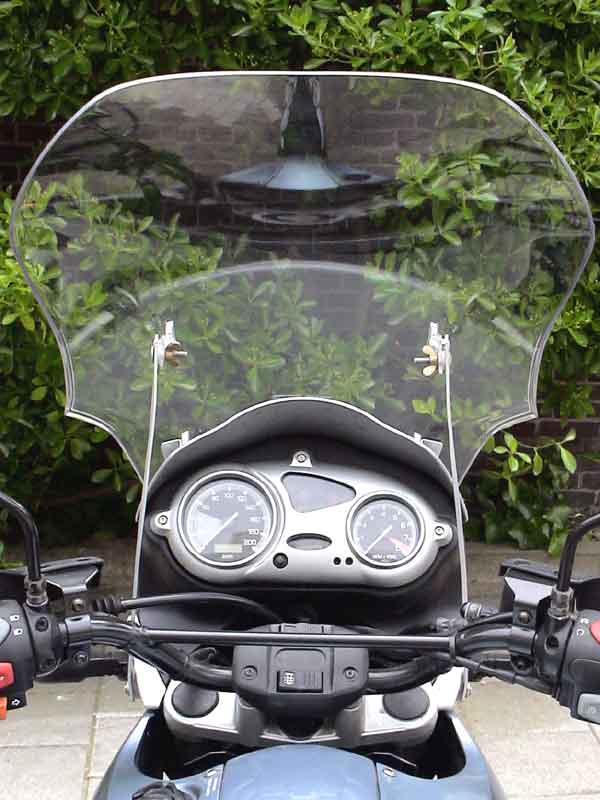
| The two brackets on top are tall versions of the one's I used for my earlier modified version of the 650GS screen. They are brackets used for opening doors and windows and should cost you around $12 a pair. They are almost 14" long and 1/8" (3mm) thick. They're made of stainless steel. |
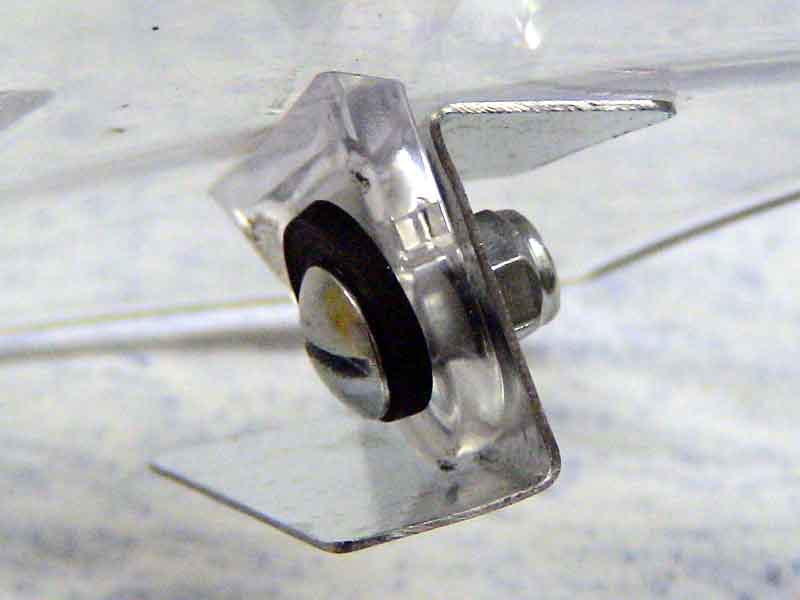
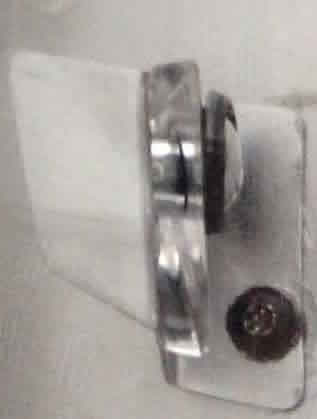
| Underneath the brackets, on the left hand side, you'll see the two polycarbonate (lexan) braces that connect the top two handles on the screen to the metal brackets. The wing nuts are mounted on the side of the brackets, and allow you to raise the screen to fit your length and lower it when you plan to do some off-roading. I initially used metal braces, but found the polycarbonate braces cosmetically nicer. They are just as easy to make from some scrap polycarbonate/lexan and offer additional flexibility, therefore putting less stress on the screen handles when you're off-roading. | 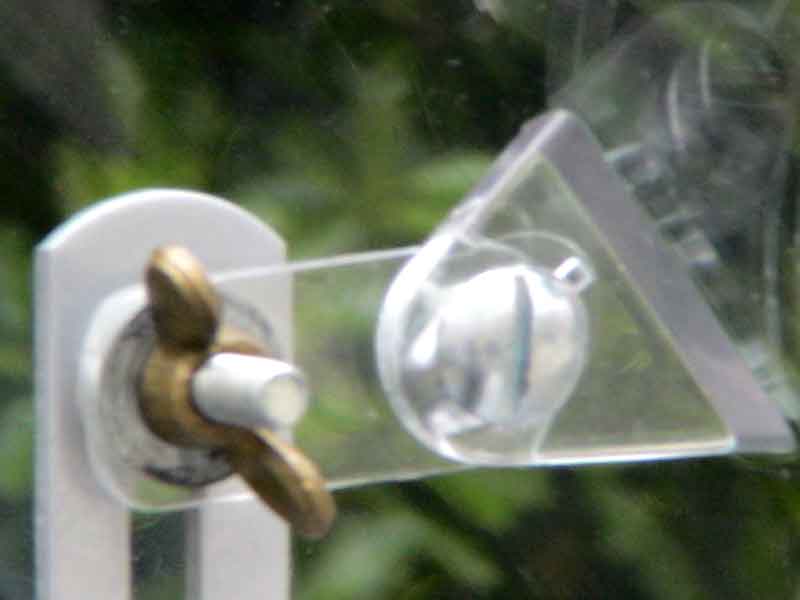 |
| On the right side of the above image, under the brackets, you'll find the screws with small plastic spacers that connect the brackets to the bike, replacing the screws just behind the Turn Signal mount screws (so, the 4th screw). The spacers (used in cabinets) provide the extra distance so that the brackets won't rub against the gray plastic fairing. | 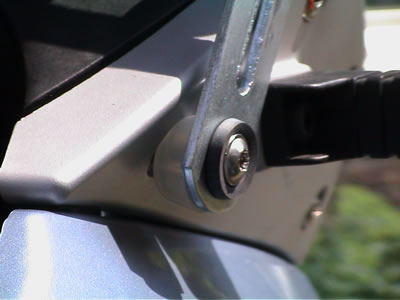 |
|
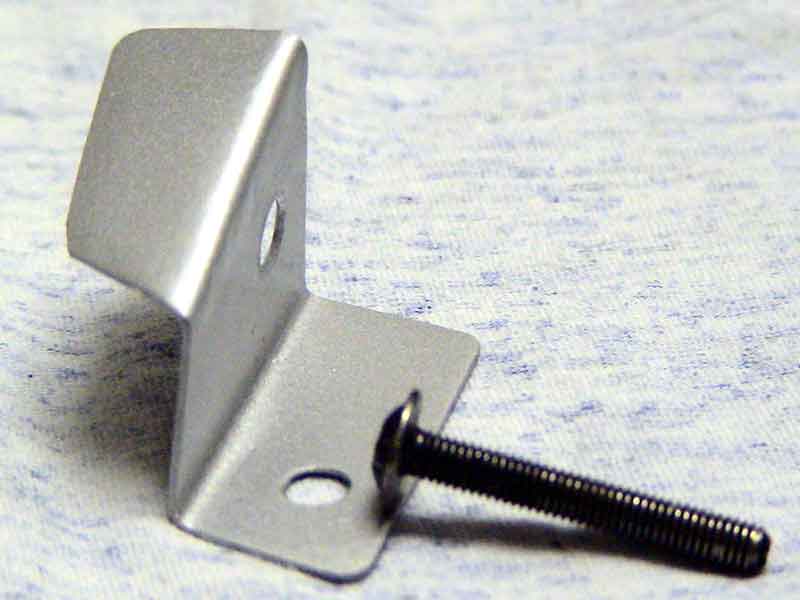
In the middle of
the above image you'll see two "Z" shaped mounting plates that
you'll need to make from thin steel (1 mm, or 1/16"). Make sure you
use steel. Aluminum will not be able to sustain the bike's vibrations
or needs to be much thicker. Bending these braces in the proper shape
is the only key activity that is needed, so take your time. To assist
you with this work, I've created a model of the "Z" below. If
you're not comfortable using this model, don't hesitate to make your own
model from a piece of cardboard. It only takes a few minutes to cut a
model and it helps you understand its shape and the fact that the two
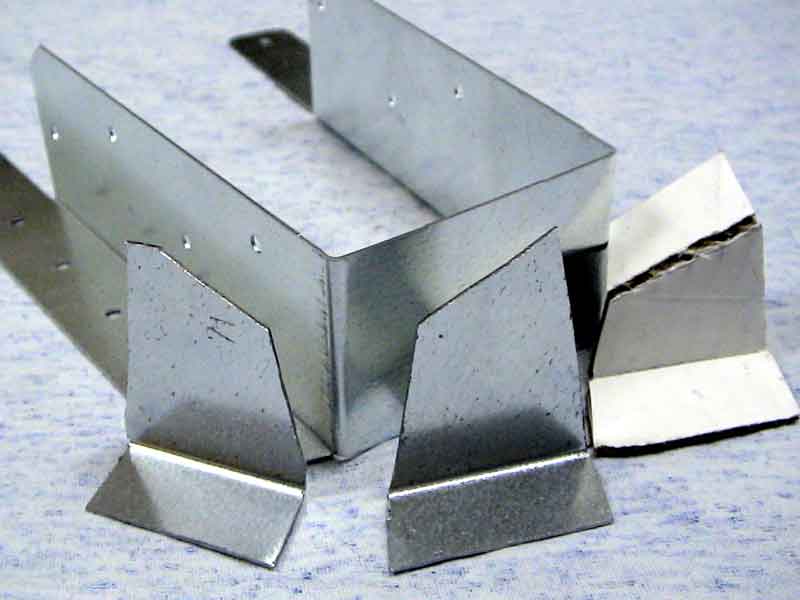
Z's need to be mirror (!!!) image. Use the model below to obtain the correct scale for creating the mounting plate (apologies for using metric here: 75 mm equals 3") and bend the plate according to the Z-shape on the right hand side of the drawing. I made the mounting plates from a single steel joist hanger with width of around 3 1/2" and similar bearing. They're available in any Home Depot or equivalent shop for under $2. After cutting the basic shape (see middle picture below) and bending it in accordance with the model, you'll need to drill the two holes on the indicated spots. The only time consuming part left is to (spray) paint them, but I suggest you only do that after you've tested them with the screen. In that case you'll need to be a bit extra careful with the screen. Polycarbonate/lexan is easily scratched. |
|

 |
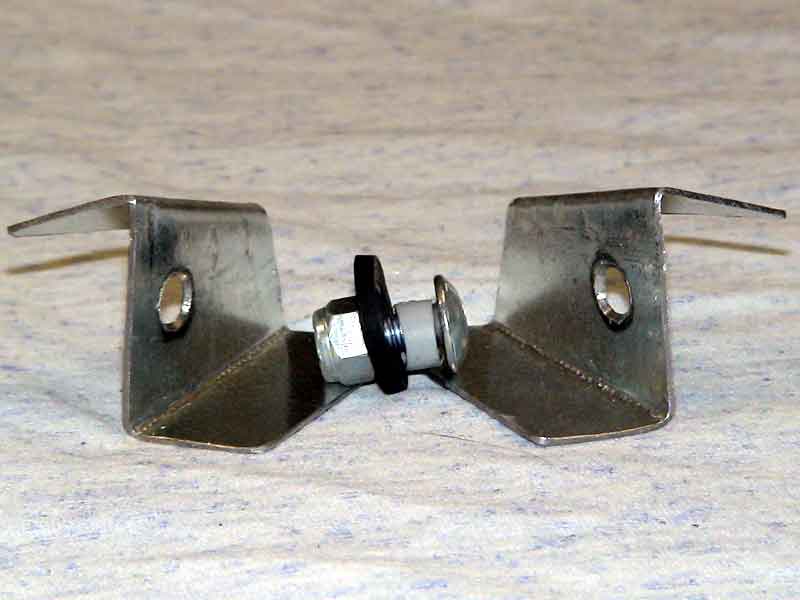 |
| Left to right: a) Model b) Joist hanger, two pre-Z's, and cardboard model c) Mounted Z on bike | d) Z's need to be mirror image! |